Let’s get your website online!
1. Click here to head over to Bluehost and then click the green “Get Started” button.
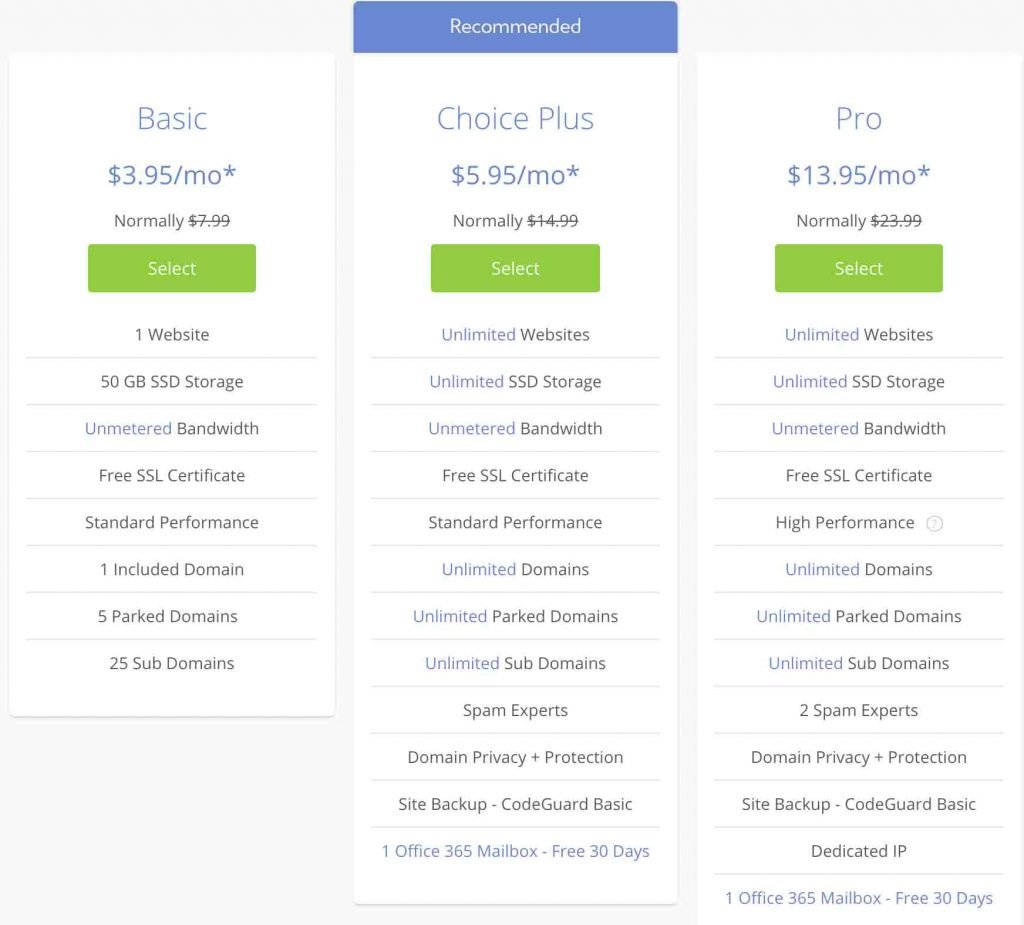
2. Select your plan, click select to choose your plan (if you just starting out go with the basic plan).
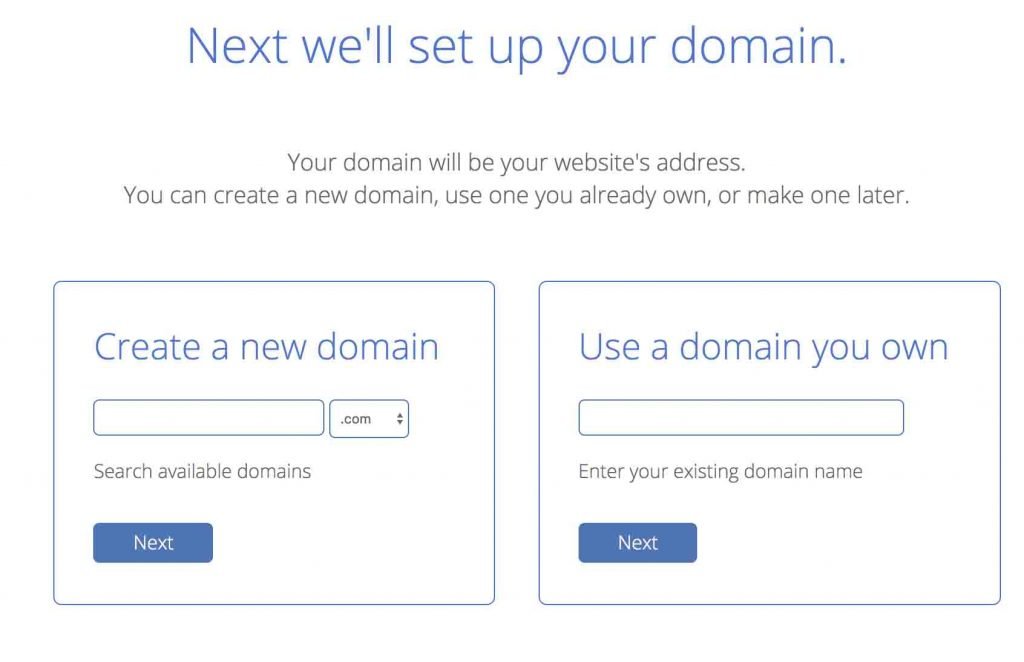
3. Enter your domain name and click next
On the next page there 2 textboxes, if you already have a domain and type it in the right textbox. If you are new and don’t have a domain name check the availability of it in the left textbox and then click next.
4. Complete the billing information
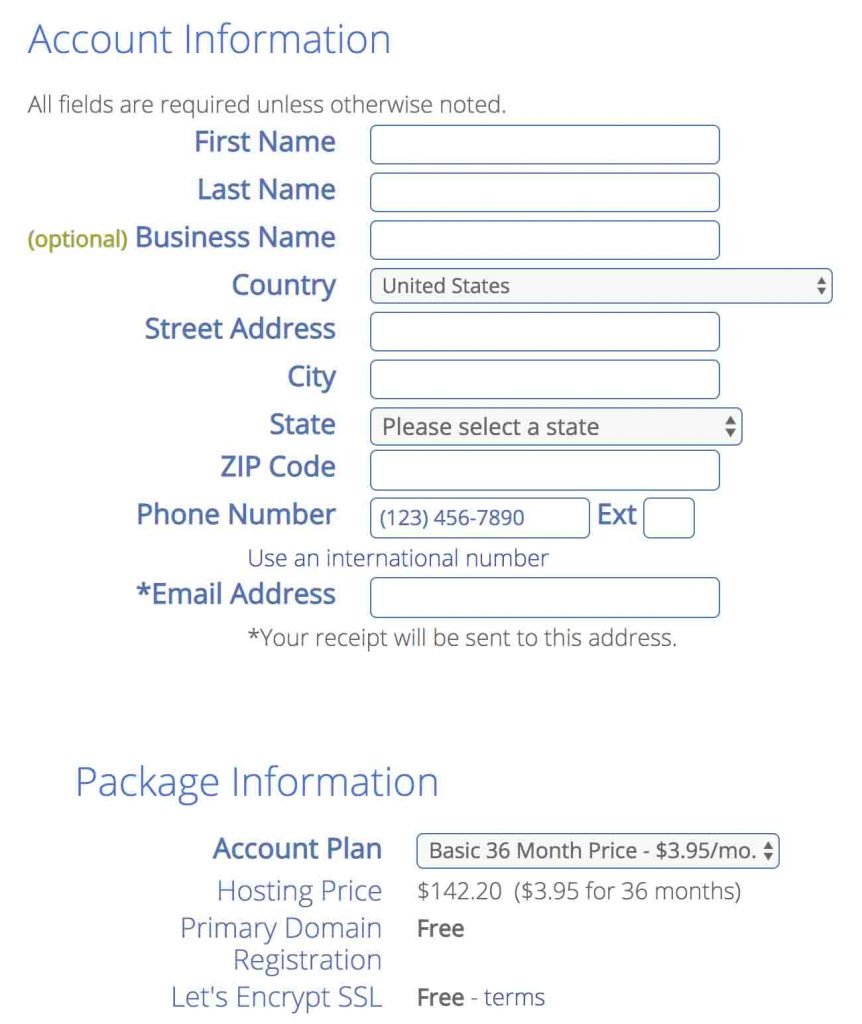
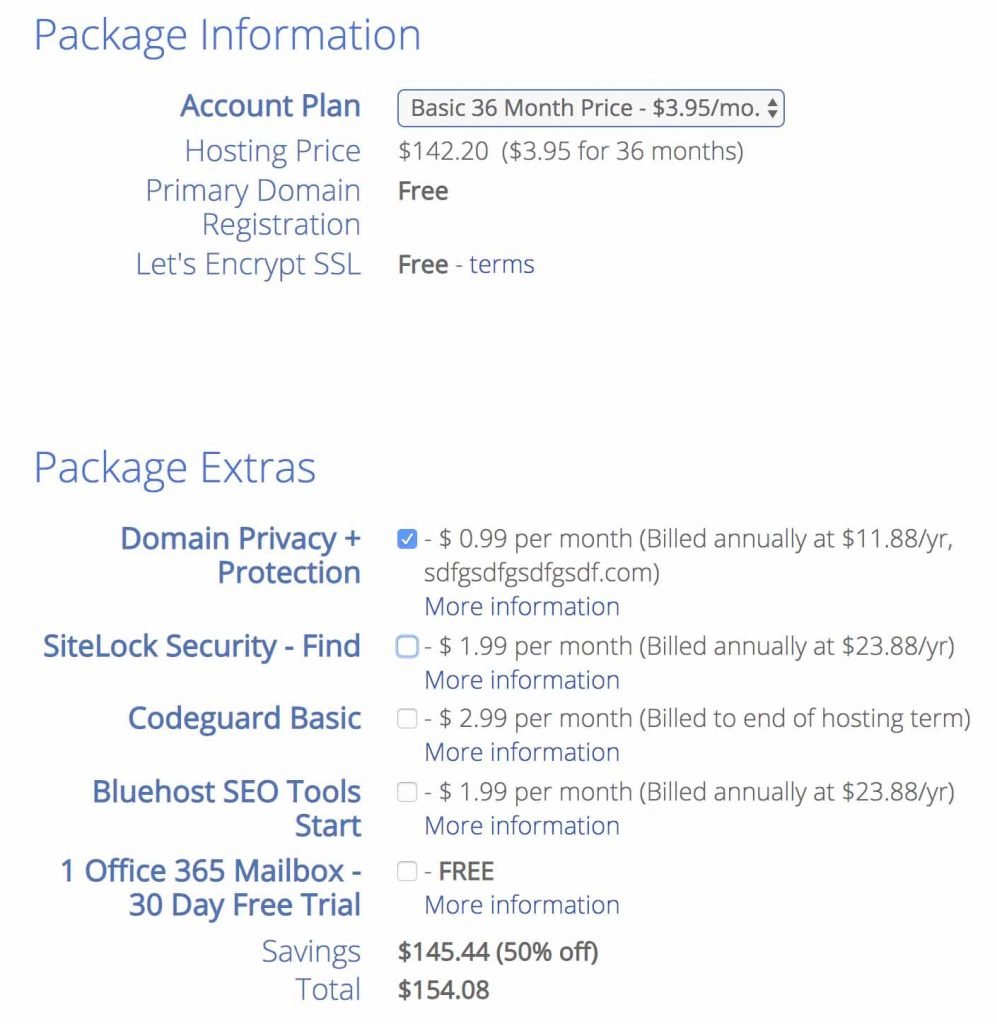
5. Select the right package and uncheck unnecessary options
Untick SiteLock Security and Codeguard which probably you don’t need it, you can also get rid of domain privacy if you want it’s only $0.99/ month though.
With all of these packages, you’ll get a free domain name for the first year, the email account for your website (youname@yourdomainname.com), WordPress installation and Webhosting.
If you think you’ll be creating more than one blog for the next 12 months it’s better to choose the recommended plan “Prime 36 Month Price” with unlimited websites. With this plan, you will get the lowest price for your hosting and that will be locked for three years.
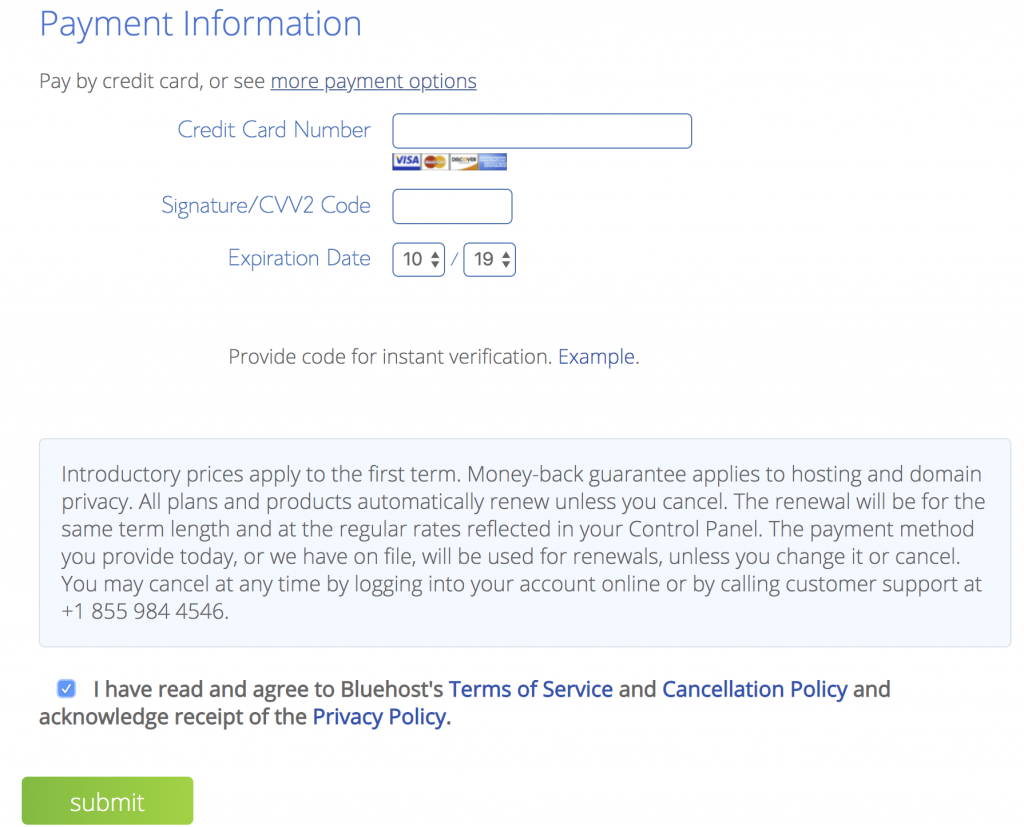
6. Enter your payments details, check the box for terms and conditions and submit
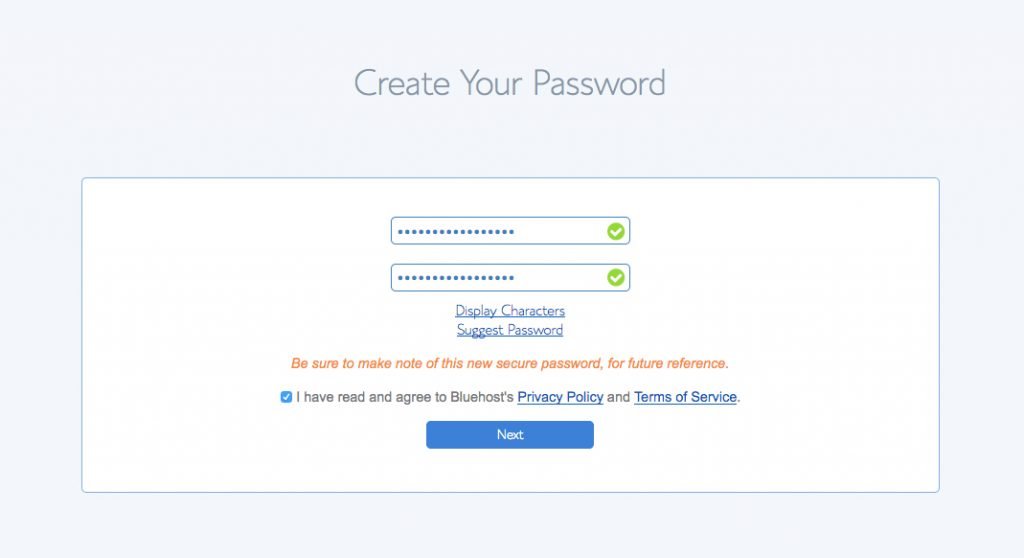
7.Create a secure password for your account
8. Choose a theme for your blog for now(you can change it later)
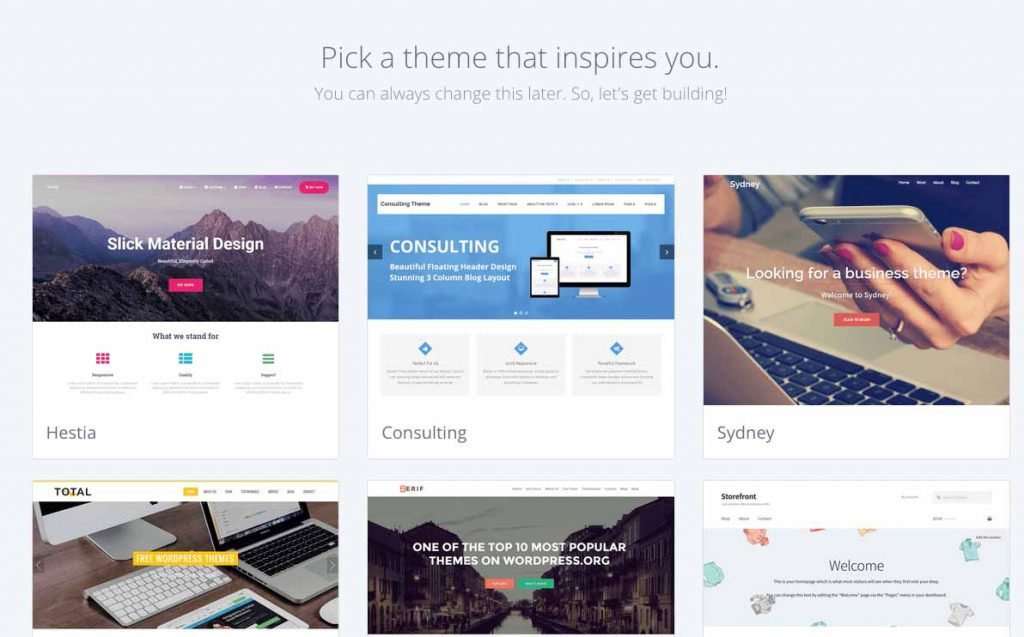
At this stage, your WordPress will be installed, once it is installed click on “Start Building” to log in to your account.
At this point, you will receive an email that contains your blog login details and these login details are different from the Bluehost account.
To log in, you need to go to https://yourdomainname.com/wp-admin/