When you made it this far it means your website is up and running with your desired theme. Congratulations!
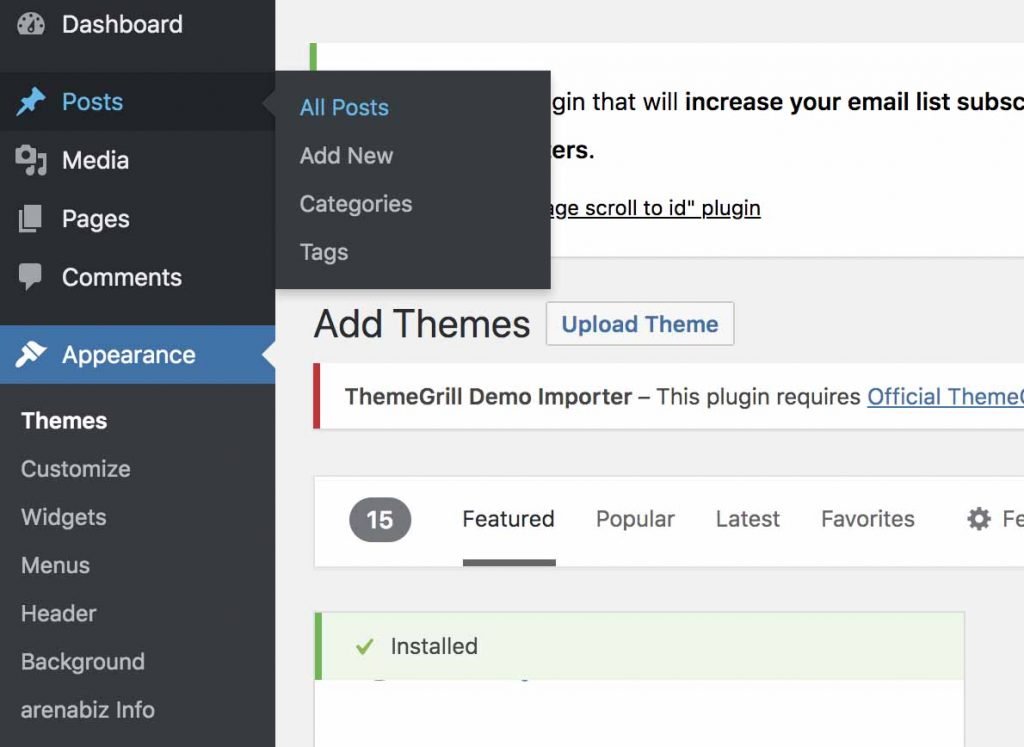
Now it is time to send some content to the world, to do that hover over “Posts” on your left menu and click on “All Posts”
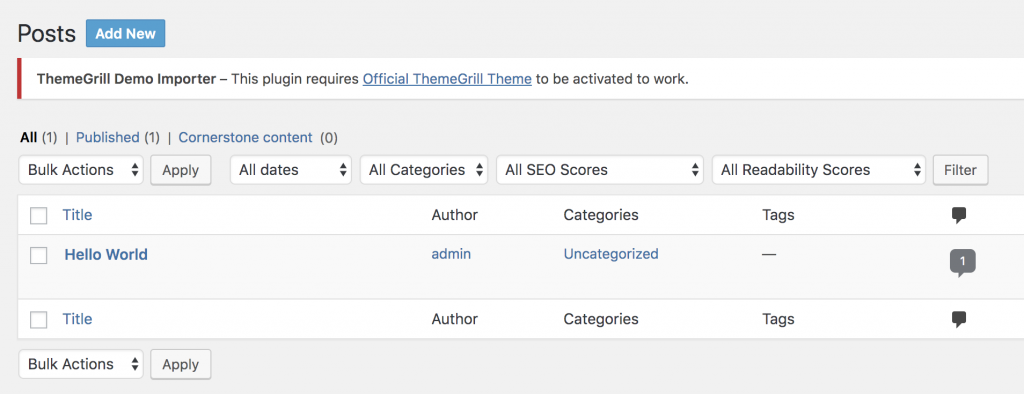
In the new page, you can see there is a default post called “Hello World”, the is the default post that comes with every new WordPress blog., you can just select and delete it. To start writing your first blog post click on “Add New” which will take you to the new post editor page.
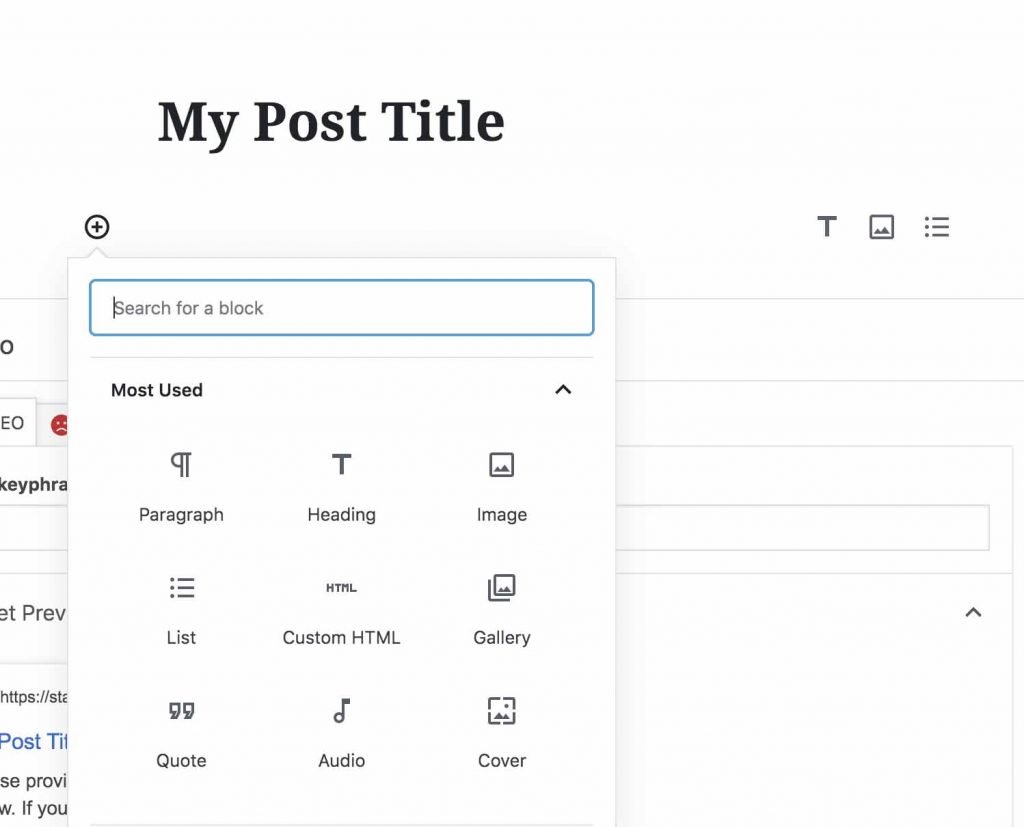
In the post editor page, you can type the title of your post and in the section below that, you can start writing your post. Each section is separated with a block so if you would like to add a new block(paragraph, Header, Image and etc) click to the “+” button and select the block you would like to add.
Change this before you publish
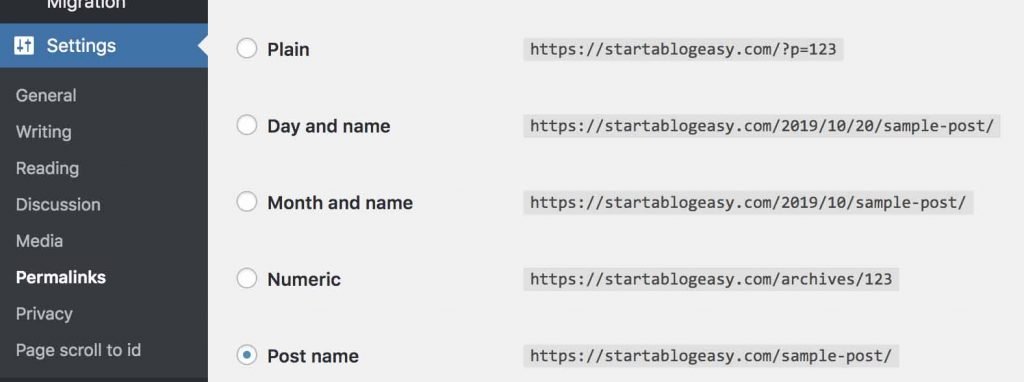
Before you publish your content it is better to make this minor change so that your published URL looks cleaner and more search engine friendly.
Head over to “Settings” and then click “Permalinks” in the new page you can see that the default URL is the day and name which looks pretty ugly, change that to post name. This will make your published URL way more readable and SEO friendly.
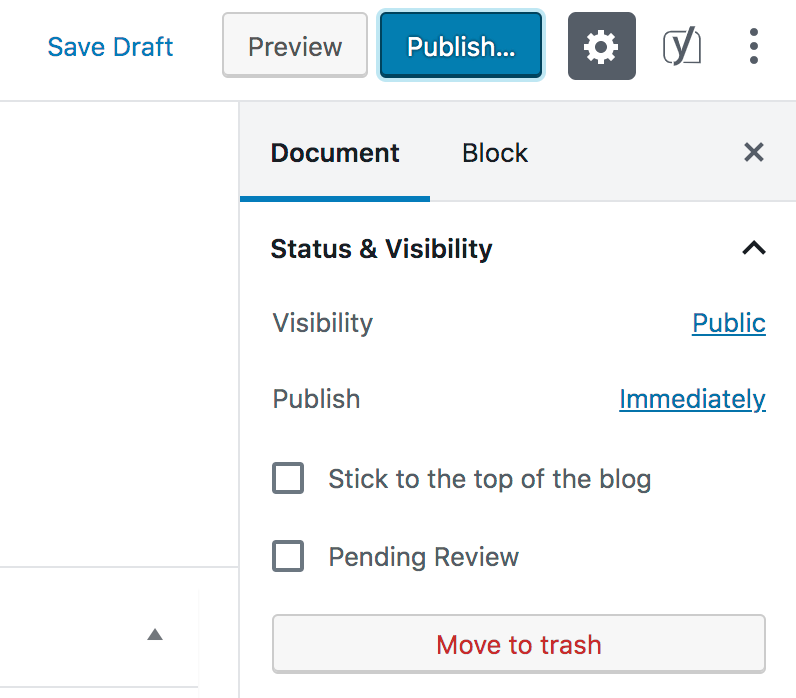
Publishing your first post
After you have finished writing your post all you need is to hit the blue”Publish…” button on the right side of the screen.
if you would like to save your work without publishing, for now, you can just hit “Save Draft” and then publish your works when it is ready.
Also if you would like to see how your content looks on the browser just hit “Preview” so that you can see how the layout looks in different browsers.
Congratulations you managed to create your first post on the internet.